Using a soldering iron kit can unlock many DIY possibilities, from fixing electronics to making creative crafts. If you’re new to soldering, it may seem tricky at first. But with the right steps and safety habits, you can master basic soldering and avoid common mistakes.
This guide walks you through each stage, explains what’s inside most kits, and offers practical advice so you get the best results.
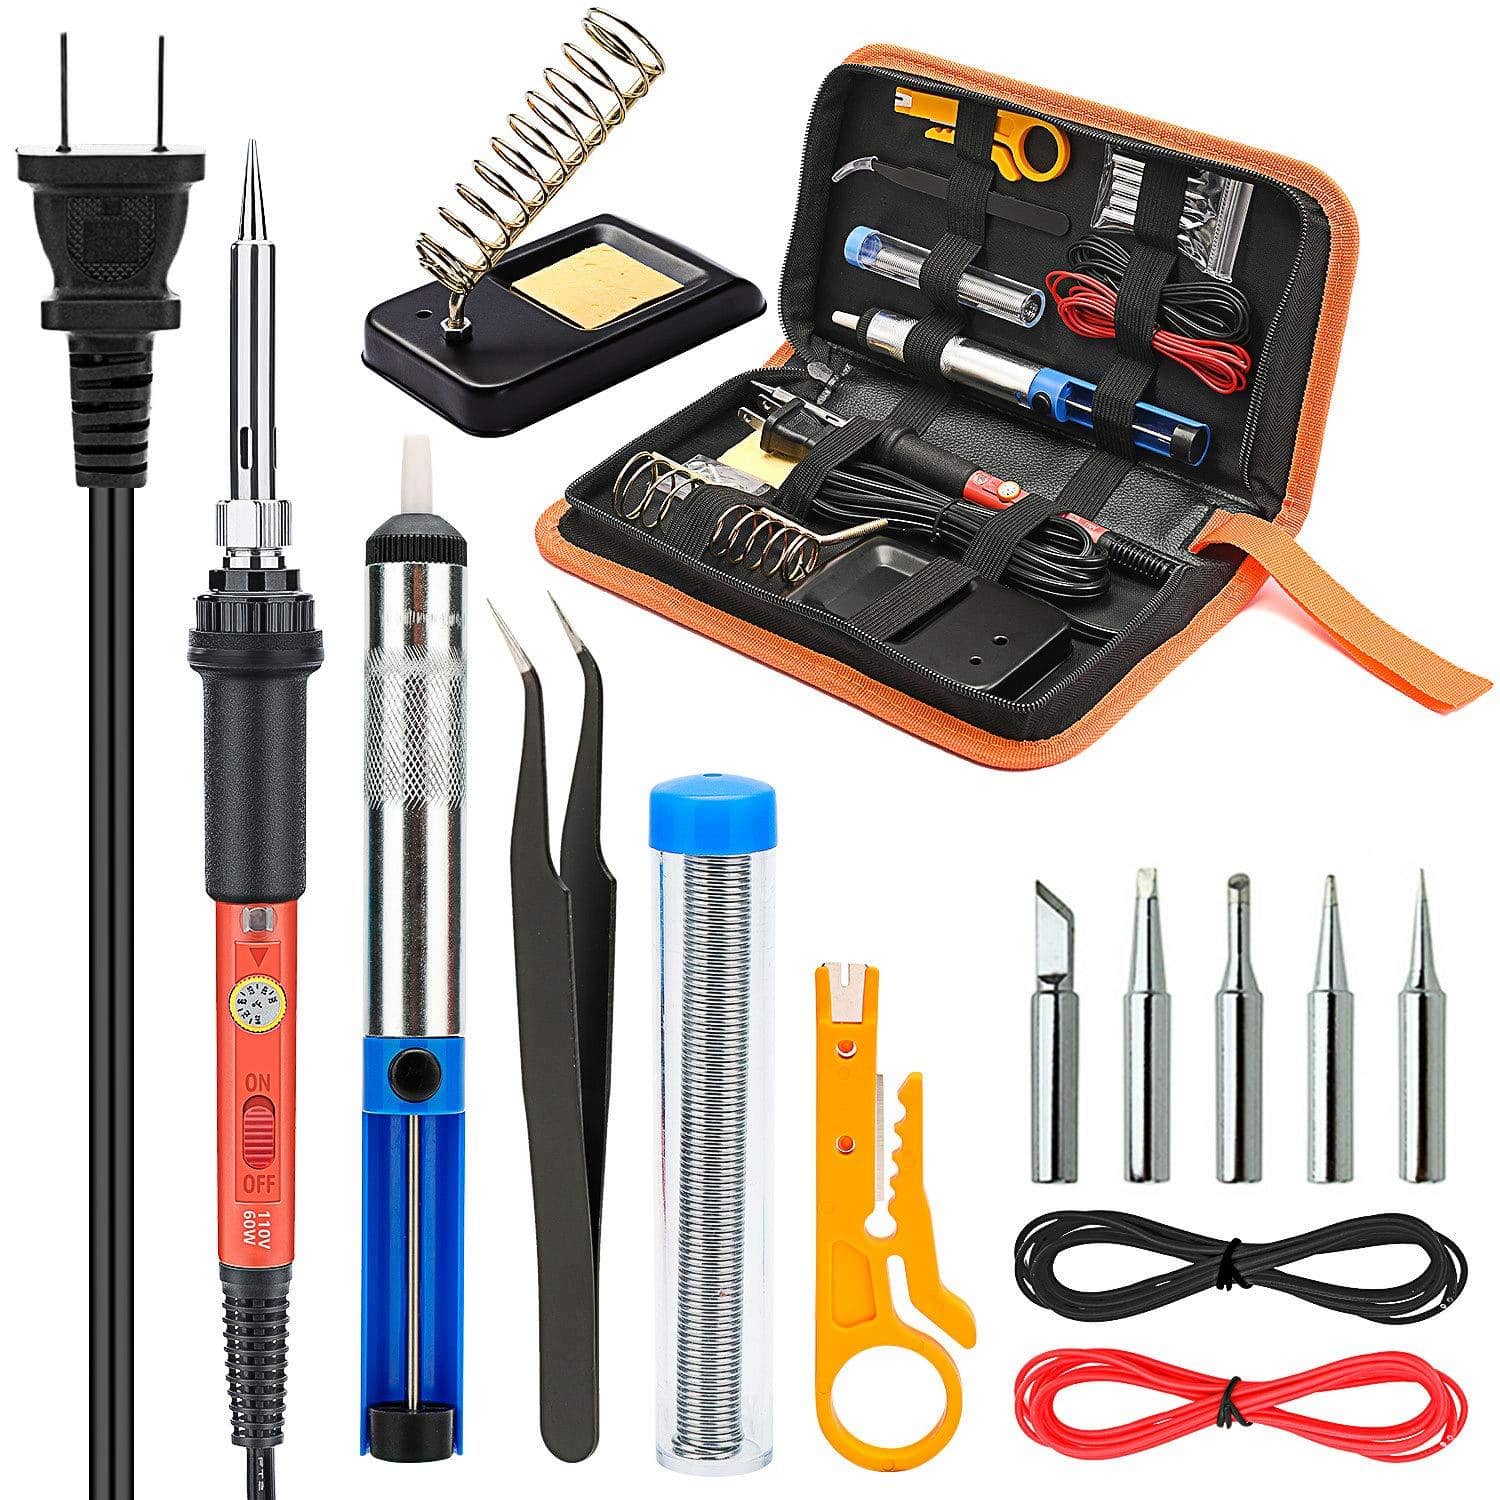
What’s In A Soldering Iron Kit?
Most soldering kits include several tools. Understanding what each does will help you use them correctly and safely.
| Kit Item | Purpose | Beginner Tip |
|---|---|---|
| Soldering Iron | Heats up to melt solder | Choose one with adjustable temperature |
| Solder Wire | Joins metal parts | 60/40 tin-lead is easiest to start with |
| Soldering Stand | Holds iron safely | Always use to avoid burns |
| Sponge | Cleans iron tip | Moisten before use |
| Desoldering Pump | Removes unwanted solder | Practice before real repairs |
| Tweezers | Handles small parts | Helps avoid finger burns |
| Wire Cutter | Cuts wires | Trim excess after soldering |
Some kits also include extra tips, heat-resistant mats, and small screwdrivers. Always check your kit’s manual for details.
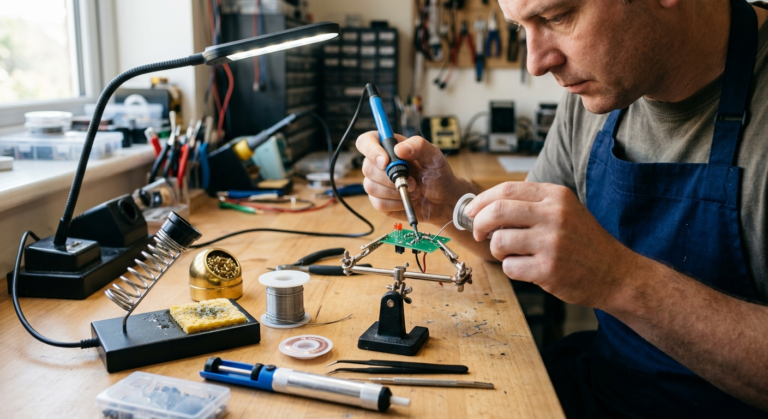
Setting Up Your Workspace
A safe, tidy workspace makes soldering easier and reduces accidents.
- Choose a flat, stable surface. Wooden tables are best.
- Work in a well-ventilated area. Solder fumes can be harmful.
- Keep flammable items away from the iron.
- Use a heat-resistant mat under your kit.
- Plug in your soldering iron, but wait until it reaches the right temperature (usually 350–400°F).
Many beginners forget to prepare their space. This leads to clutter and risk of injury. Make setup a habit every time.
Basic Soldering Steps
Learning the correct soldering technique is key. Follow these steps for good results:
- Clean the iron tip: Wipe with a damp sponge so solder sticks better.
- Heat the connection: Touch the iron to both parts you want to join (for example, wire and circuit pad).
- Apply solder wire: Feed solder to the heated joint, not the iron tip.
- Remove iron: Pull the iron away smoothly. Let the joint cool naturally.
- Inspect the joint: It should look shiny and smooth. If dull or cracked, reheat and add a bit more solder.
Here’s a comparison of good vs bad solder joints:
| Type | Appearance | Reliability |
|---|---|---|
| Good Joint | Shiny, smooth, no gaps | Strong connection |
| Cold Joint | Dull, rough, cracked | Weak, may break |
| Too Much Solder | Bulky, may bridge pads | Short circuits possible |
Non-obvious tip: Always heat the joint, not the solder wire directly. This prevents cold joints and gives better electrical contact.
Safety Tips And Common Mistakes
A soldering iron can reach over 700°F. Follow these safety steps:
- Never touch the iron tip.
- Put the iron in its stand when not in use.
- Wash hands after soldering, especially if using lead solder.
- Don’t inhale smoke; use a small fan or open window.
Beginners often make two mistakes:
- Holding the iron too long at the joint, which can damage circuits.
- Forgetting to clean the tip regularly, which makes soldering harder.
If you make a mistake, use the desoldering pump to remove extra solder and try again.

Credit: www.sparkfun.com
Practical Examples
Let’s look at two common uses of a soldering kit:
Fixing A Broken Wire
- Strip the wire ends.
- Twist together.
- Heat with iron, apply solder.
- Cover with heat shrink or tape for safety.
Attaching Components To A Circuit Board
- Place the component in the correct hole.
- Flip the board and solder the leg to the pad.
- Trim excess wire with cutters.
Most electronics repairs follow these basics. Practice on old boards before working on valuable devices.
Choosing The Right Kit
If you haven’t bought a kit yet, compare features carefully. Here’s a simple data table:
| Kit Type | Price Range | Best For | Extras Included |
|---|---|---|---|
| Basic | $20–$30 | Simple repairs | Iron, solder wire, stand |
| Intermediate | $35–$60 | DIY projects | Extra tips, pump, tweezers |
| Advanced | $70+ | Frequent use | Temperature control, storage case |
Pro tip: Kits with temperature control help avoid overheating sensitive parts.

Credit: www.amazon.com
Maintenance And Cleaning
A well-maintained soldering iron lasts longer and works better.
- Clean the tip after each use with a damp sponge.
- Replace tips if they are pitted or won’t hold solder.
- Store tools in a dry place to avoid rust.
Many people overlook tip care. A dirty or damaged tip leads to poor joints and frustration.
Frequently Asked Questions
How Hot Does A Soldering Iron Get?
Most soldering irons reach 350–400°F (about 180–200°C). Advanced models can go higher. Always check your kit’s manual.
Is Soldering Dangerous?
If used correctly, soldering is safe. The biggest risks are burns and inhaling fumes. Work in a ventilated area and always use the stand.
What Type Of Solder Should I Use?
For beginners, 60/40 tin-lead solder is easiest. Lead-free solder is safer but harder to work with. Choose based on your project and local regulations.
Can I Use A Soldering Iron For Jewelry?
Yes, but only for simple metal repairs. For fine jewelry, a specialized jeweler’s torch works better.
How Do I Fix A Bad Solder Joint?
Reheat the joint, add a little solder if needed, and let it cool. Use the desoldering pump if you need to remove excess solder.
Mastering your soldering iron kit takes patience and practice. Start with simple projects, keep your workspace safe, and maintain your tools. With time, you’ll find soldering is not only useful—it’s fun and rewarding. For more detailed soldering safety information, see Wikipedia.
Credit: vilros.com