
Welding helmets protect your eyes and face from dangerous sparks and radiation. Today, many welders use auto darkening welding helmets because they adjust shade automatically when you start welding. But how do you know if your helmet is working correctly? Testing your helmet is not just a good idea—it’s essential for your safety. This article explains simple ways to test an auto darkening welding helmet, common mistakes, and what to do if your helmet fails.
Why Testing Your Auto Darkening Helmet Matters
Welding produces intense ultraviolet (UV) and infrared (IR) rays. If your helmet does not darken fast enough, your eyes can get arc flash (also called “welder’s flash”). This is painful and can cause long-term damage. Faulty helmets also let through visible light, which can make you squint or lose focus. Every welder—beginner or expert—should test their helmet before every big project.
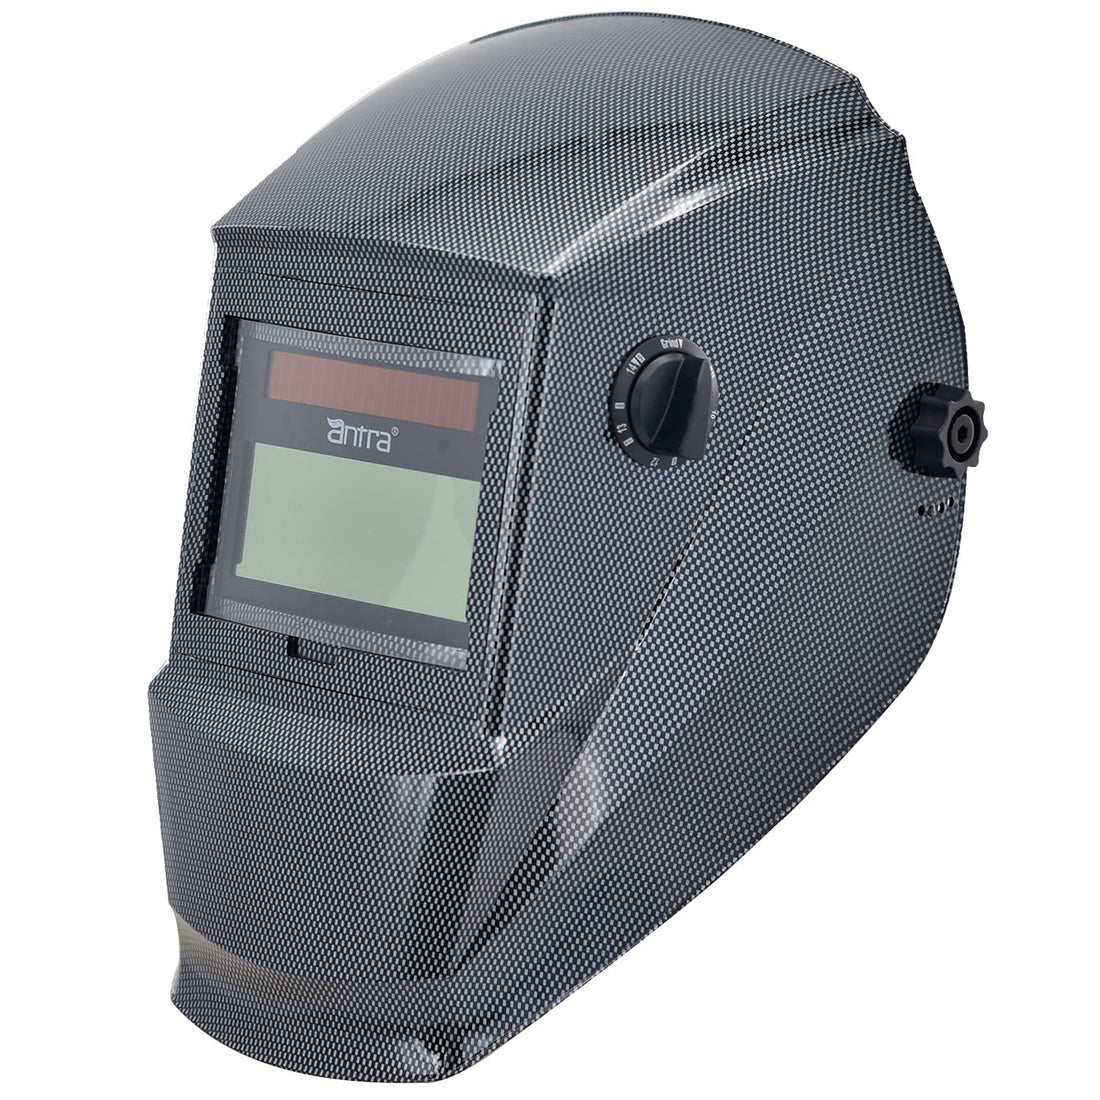
Basic Features Of Auto Darkening Helmets
Before testing, understand the main parts and settings:
- Light sensors: Detect the welding arc and trigger darkening.
- Shade control: Adjusts how dark the lens gets (usually between shade 9–13).
- Sensitivity setting: Controls how easily the helmet responds to light.
- Delay control: Changes how long the lens stays dark after welding stops.
- Power source: Most helmets use batteries, solar cells, or both.
Here’s a quick comparison of common features:
| Feature | Manual Helmet | Auto Darkening Helmet |
|---|---|---|
| Lens Shade | Fixed | Variable (9-13) |
| Response Time | Not Applicable | 0.1–0.00004 seconds |
| Power Source | None | Batteries/Solar |

Credit: www.youtube.com
Step-by-step: How To Test An Auto Darkening Welding Helmet
Testing your helmet takes only a few minutes but can prevent injuries. Follow these steps:
1. Check The Power Source
First, make sure your helmet has working batteries or a charged solar cell. If your helmet has a battery test button, use it. If the helmet does not turn on or the indicator light is dim, replace the batteries.
2. Inspect The Lens And Sensors
Look for dust, scratches, or cracks on the lens and sensors. Clean with a soft cloth. Damaged sensors may not detect light changes correctly. If you see any cracks, replace the helmet.
3. Sunlight Test
Go outside on a sunny day. Put on the helmet and look toward the sun (not directly at it—look near it). The lens should darken instantly. Move your head away and check that it returns to light mode. This test checks both the sensors and the lens.
4. Remote Control Or Flashlight Test
Point a TV remote control or a strong LED flashlight directly at the helmet’s sensors. Press any button on the remote. The lens should darken when the infrared signal reaches the sensor. This method is safe and easy to do indoors.
5. Strike Test (real Arc)
If you have welding equipment ready, set up a short weld on a piece of scrap metal. Watch how quickly the lens darkens when you strike the arc. After stopping, the lens should return to light mode without delay. If the lens is slow, adjust the sensitivity or delay controls.
6. Test Sensitivity And Delay Controls
Adjust the sensitivity and delay dials, then repeat the sunlight or remote test. High sensitivity means the lens darkens with weaker light. Delay controls how long the lens stays dark after you stop welding. Play with the settings to see how your helmet reacts.
Common Testing Mistakes To Avoid
Many welders skip testing or use the wrong method. Here are mistakes to avoid:
- Using a phone flashlight: Most phone lights are not strong enough to trigger the sensors.
- Ignoring the helmet’s battery life: Weak batteries can cause delayed darkening.
- Testing with sunglasses: Sunglasses do not provide the same protection and can give a false sense of safety.
- Skipping physical checks: Small cracks can let in dangerous rays.
- Not adjusting controls: Every helmet and workspace is different—always set up your helmet for the conditions.
Credit: antrawarehouse.com
What To Do If Your Helmet Fails The Test
If your helmet does not darken or is slow to respond:
- Replace the batteries.
- Clean or replace the sensors.
- Check for cracks or deep scratches.
- Try adjusting the controls.
- If none of these work, stop using the helmet immediately. Continuing to weld with a faulty helmet is risky.
Comparing Helmet Quality And Reaction Time
Not all helmets are built the same. Reaction time is a key factor in eye safety. Here’s how entry-level and advanced helmets compare:
| Helmet Type | Reaction Time (seconds) | Number of Sensors |
|---|---|---|
| Entry-Level | 0.0001 | 2 |
| Mid-Range | 0.00004 | 3 |
| Professional | 0.00003 | 4 |
Faster reaction times and more sensors mean better protection, especially if you weld at different angles or in bright environments.

Credit: proweldinghelmets.com
Practical Tips And Insights
Many beginners miss small details that make a big difference:
- Test your helmet before every session. Even a tiny problem can mean the lens fails during a critical moment.
- Store your helmet away from sunlight when not in use. Too much sunlight can drain solar-powered helmets or fade sensors over time.
- Keep a spare set of batteries in your tool kit. Sometimes, helmets can lose power without warning.
Frequently Asked Questions
How Often Should I Test My Auto Darkening Welding Helmet?
Test your helmet every time before you start welding, especially after changing batteries or adjusting settings.
Can I Repair A Cracked Lens?
No. A cracked lens cannot be safely repaired. Replace the lens or the entire helmet to ensure full protection.
Why Does My Helmet Not Darken With A Flashlight?
Most regular flashlights do not emit enough UV or IR light to trigger the sensors. Use a strong LED, a TV remote, or actual sunlight for accurate testing.
What Shade Level Should I Use For Welding?
For most arc welding, use shade levels between 9 and 13. Thicker metals or higher amperages need darker shades. Check the helmet manual for recommendations.
Are Auto Darkening Helmets Safe For All Types Of Welding?
Yes, if they meet safety standards like ANSI Z87.1. Always check your helmet’s certification before use. For more on safety standards, visit the Wikipedia page on auto-darkening welding helmets.
The right welding helmet can keep your eyes safe for years. Always test your helmet, know its features, and never ignore a warning sign. Responsible welders protect themselves first, and you should too.