
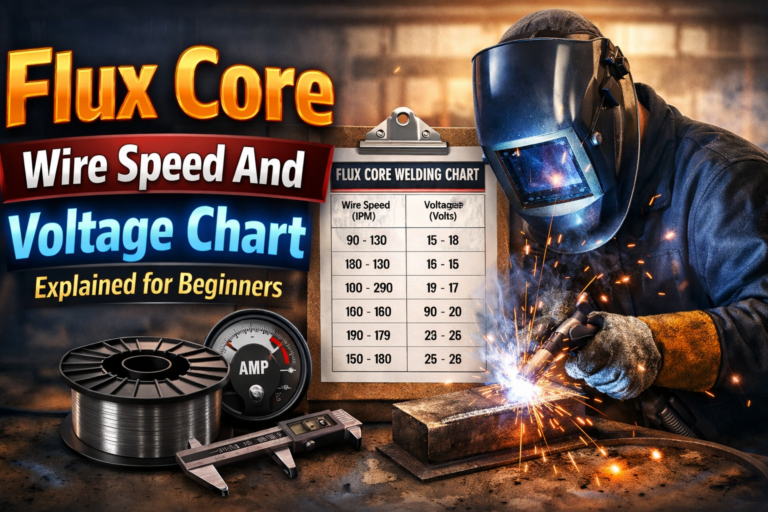
Flux core welding is popular for both home and professional projects. It works well outdoors and on dirty or rusty metal. But many beginners struggle with setting the right wire speed and voltage. If these settings are wrong, the weld will be weak or messy. This guide explains flux core wire speed and voltage charts so you can weld with confidence.
What Is Flux Core Welding?
Flux core welding uses a hollow wire filled with flux. The flux shields the weld from air, so you don’t need an external gas. This makes it useful in windy or dirty environments. The process is similar to MIG welding but uses a different wire and settings.
Why Wire Speed And Voltage Matter
The wire speed controls how fast the wire feeds into the weld. Too fast, and you get too much spatter. Too slow, and the wire burns back or doesn’t melt properly. The voltage controls the heat. Higher voltage means more penetration, but too much can burn through thin metal.
Getting these settings right is the difference between a strong, neat weld and a poor, ugly one. Most machines have dials or digital controls for both settings.
Reading A Flux Core Wire Speed And Voltage Chart
Wire speed and voltage charts help you set your machine for different metal thicknesses and wire sizes. Most charts are found in the welder’s manual or online. Here’s a simple example:
| Metal Thickness (inches) | Wire Size (inches) | Wire Speed (IPM) | Voltage (V) |
|---|---|---|---|
| 1/8 | 0.030 | 250 | 18 |
| 1/4 | 0.035 | 300 | 20 |
| 3/8 | 0.045 | 350 | 22 |
Charts like this show the recommended settings for different metal thicknesses. But they are just a starting point. You may need to fine-tune based on your project.
How To Choose The Right Settings
Choosing the correct wire speed and voltage depends on:
- Metal Thickness: Thicker metal needs more heat and faster wire speed.
- Wire Diameter: Bigger wire carries more current, so needs higher voltage and speed.
- Welding Position: Overhead or vertical welds may need slightly lower voltage.
- Machine Model: Each machine has its own range.
For a practical example, let’s compare two common wire sizes:
| Wire Size | Recommended Metal Thickness | Wire Speed Range (IPM) | Voltage Range (V) |
|---|---|---|---|
| 0.030 | 1/16″–1/4″ | 200–300 | 16–20 |
| 0.035 | 1/8″–3/8″ | 250–350 | 18–22 |
Notice that as wire size increases, both speed and voltage go up.
Common Mistakes Beginners Make
Many new welders make mistakes with settings:
- Ignoring the Chart: Always start with the chart, then adjust as needed.
- Using Wrong Wire Size: Don’t use thin wire for thick metal—it won’t penetrate.
- Setting Wire Speed Too High: This causes excessive spatter and poor fusion.
- Low Voltage on Thick Metal: This creates weak welds that can break.
A non-obvious tip: If your weld sounds like frying bacon, it’s usually set correctly. If it pops or sputters, adjust the wire speed or voltage.
Fine-tuning Your Settings
Charts are guides, but each weld is unique. Here’s how to dial in your settings:
- Start with the chart’s recommendation.
- Make a test weld on scrap metal.
- Check the weld bead. If it’s tall and narrow, increase voltage. If it’s wide and flat, decrease voltage.
- Adjust wire speed until the arc is steady and smooth.
For better results, use a practice log. Write down the settings, metal thickness, and wire size. This helps you learn faster and avoid repeating mistakes.
Advanced Tips For Consistent Weld Quality
Beyond the chart, two non-obvious factors affect weld quality:
- Voltage/Wire Speed Ratio: The balance matters more than the individual numbers. Too much wire speed for your voltage causes a cold weld.
- Power Supply Fluctuations: Inconsistent power affects your settings. If your machine has a voltage display, check for stability.
For more details, check the Lincoln Electric guide.
Example: Setting A Machine For 1/4″ Steel
Let’s walk through setting up a welder for 1/4″ steel with 0.035 wire:
- Check the chart: Wire speed about 300 IPM, voltage around 20 V.
- Set the machine dials to these values.
- Make a test weld. If the wire burns back, increase speed slightly. If the bead is too tall, increase voltage.
- Listen for a steady sound and watch for minimal spatter.
Small changes can make a big difference. Don’t be afraid to adjust by 10–20 IPM or 0. 5 V.
Frequently Asked Questions
What Happens If Wire Speed Is Too High?
Excessive wire speed causes too much wire to feed into the weld pool. You’ll see extra spatter, a tall bead, and poor fusion. Lower the speed until the arc sounds smooth.
Can I Use Flux Core For Thin Sheet Metal?
Yes, but use 0.030 wire and lower voltage. For sheet metal (under 1/8″), keep voltage below 16 V and wire speed around 150–200 IPM.
How Do I Know If Voltage Is Set Correctly?
The best sign is a flat, smooth bead with good penetration. If the weld looks tall and narrow, increase voltage. If it’s wide and thin, decrease voltage.
Do All Machines Have Wire Speed And Voltage Charts?
Most brands include a basic chart in the manual or inside the wire feed door. Some advanced models even have digital guides. Always check your machine’s documentation.
Should I Adjust Settings For Vertical Or Overhead Welding?
Yes. Lower the voltage and wire speed slightly for vertical or overhead positions. This prevents the weld pool from dripping and gives better control.
Getting the right flux core wire speed and voltage is not magic. Start with the chart, listen to the arc, and adjust until you see a strong, clean weld. With practice, you’ll be able to set your welder by feel and make reliable joints every time.