
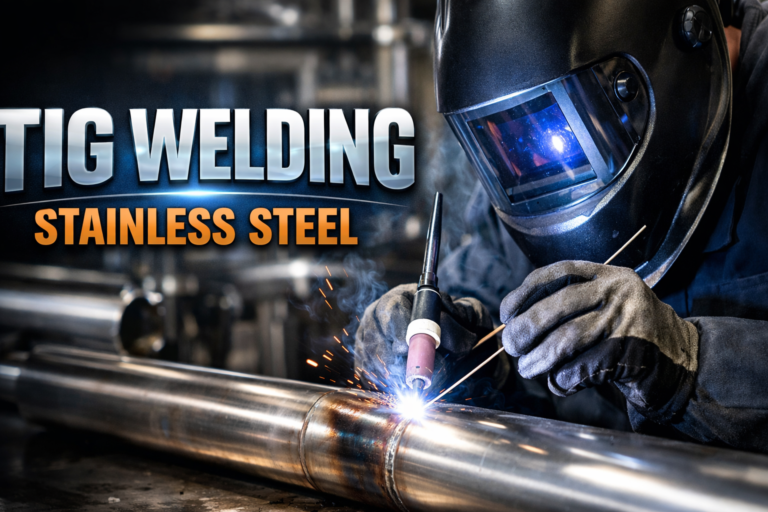
TIG welding stainless steel is a skill that rewards precision and patience. Many industries depend on this process for making strong, clean joints in everything from kitchen equipment to aerospace parts. If you want to learn TIG welding stainless steel, you need to know the right techniques, tools, and secrets that make your welds shine.
In this article, you’ll discover practical advice, common mistakes, and insider tips that beginners often overlook.
What Makes Tig Welding Stainless Steel Unique?
Stainless steel is famous for its resistance to rust and its attractive finish. But welding it is not as simple as welding mild steel or aluminum. TIG (Tungsten Inert Gas) welding, also called GTAW (Gas Tungsten Arc Welding), uses a tungsten electrode and an inert gas shield. This method is ideal for stainless steel because it gives precise control, minimal contamination, and beautiful welds.
Unlike MIG or stick welding, TIG welding lets you adjust heat input and filler material separately. This is important for stainless steel, which can warp, discolor, or crack if overheated. TIG welding is also preferred for thin sheets, pipes, and projects where appearance matters.
Essential Equipment And Setup
Before you start, make sure you have the right tools. Here’s a quick comparison of TIG welding equipment for stainless steel:
| Equipment | Purpose | Key Features |
|---|---|---|
| TIG Welder | Creates electric arc | Adjustable amperage, AC/DC modes |
| Tungsten Electrode | Maintains arc | 2% thoriated or ceriated, sharpened tip |
| Shielding Gas | Protects weld | Pure argon or argon/helium mix |
| Filler Rod | Adds material | ER308L or ER316L for most grades |
| Protective Gear | Safety | Auto-darkening helmet, gloves |
Keep your workspace clean. Dust, oil, and moisture can ruin a stainless steel weld. Use a stainless wire brush for cleaning—never use a brush that touched carbon steel, or you’ll cause contamination.
Tig Welding Stainless Steel: Step-by-step
Follow these steps to get strong, shiny welds:
1. Prepare The Metal
Clean the joint area until it’s bright and shiny. Remove all dirt, grease, and oxide. Even fingerprints can cause weld defects.
2. Set The Machine
Choose DCEN (Direct Current Electrode Negative) for most stainless steel. Start with 1 amp per 0. 001 inch of metal thickness. Fine-tune as needed.
3. Select The Electrode And Filler
Use a sharpened 2% thoriated tungsten. Pick a filler rod that matches your stainless grade: ER308L for 304, ER316L for 316.
4. Shielding Gas Flow
Set argon flow to 15–20 cubic feet per hour. If you weld thick pieces or need deeper penetration, try argon/helium mix.
5. Tack Weld The Joint
Place small tacks every few inches to hold the parts together. This prevents movement and distortion.
6. Weld Slowly And Steadily
Hold the torch at a 70–80° angle. Move smoothly, keeping the arc tight. Add filler rod gently, avoiding excess.
7. Protect The Back Side
Purge the backside with argon if possible. This stops sugar (oxidation) and preserves the weld’s strength.
8. Cool Down Gradually
Let the weld cool at room temperature. Avoid quenching, which can cause cracking.
Common Mistakes And How To Avoid Them
Even skilled welders make errors. Here are mistakes you should watch out for:
| Mistake | Result | Prevention |
|---|---|---|
| Contaminated Electrode | Poor arc, dirty weld | Sharpen tungsten, avoid touching filler |
| Wrong Gas Flow | Porosity, weak weld | Check regulator, use pure argon |
| Overheating | Warping, discoloration | Lower amperage, weld in short bursts |
| Improper Cleaning | Inclusions, rust spots | Use dedicated stainless brush |
| No Back Purge | Sugaring, brittle weld | Use argon purge for critical joints |
One non-obvious tip: always let the tungsten cool before touching it. Hot tungsten picks up contamination easily. Another overlooked detail is the distance between tungsten and workpiece. Keep it at 1/8 inch for best arc control.
Advanced Tips For Better Welds
If you want your welds to look professional, try these strategies:
- Use a gas lens instead of a standard cup. This gives smoother gas coverage and reduces turbulence.
- Practice on scrap stainless steel before working on your final piece. This helps you fine-tune amperage and travel speed.
- For thin sheets, use pulse mode if your welder has it. This alternates high and low current, reducing heat input and warping.
- Keep your filler rod close to the weld pool but out of the gas flow. This prevents oxidation of the rod tip.
- For pipe welding, always purge the inside with argon. This is critical for sanitary welds in food and pharma industries.
According to Wikipedia, TIG welding is valued for its ability to produce high-quality welds, especially on thin or delicate materials.
Frequently Asked Questions
What Is The Best Tungsten Type For Stainless Steel?
2% thoriated tungsten is most popular. It holds a stable arc and lasts longer. Some welders use ceriated or lanthanated electrodes for better performance at low amperage.
Why Does Stainless Steel Discolor After Welding?
Discoloration comes from excessive heat or poor shielding gas coverage. Adjust your amperage and keep the gas flow steady to minimize this. Use a gas lens for extra protection.
Can I Tig Weld Stainless Without Filler Rod?
Yes, but only for autogenous welds (when parts are tightly fit). For most joints, a filler rod is needed for strength and flexibility.
How Do I Prevent Warping In Thin Stainless Steel?
Weld in short bursts, use pulse mode, and clamp the workpiece. Cooling between passes also helps. Don’t rush—slow and steady wins.
Is Back Purging Always Necessary?
Back purging is needed for high-quality welds, especially in pipes or food-grade projects. For simple, non-critical joints, it’s optional but recommended.
Mastering TIG welding stainless steel takes practice, but with these tips, you’ll avoid costly mistakes and get results that stand out. Remember, cleanliness, gas control, and patience make all the difference.