
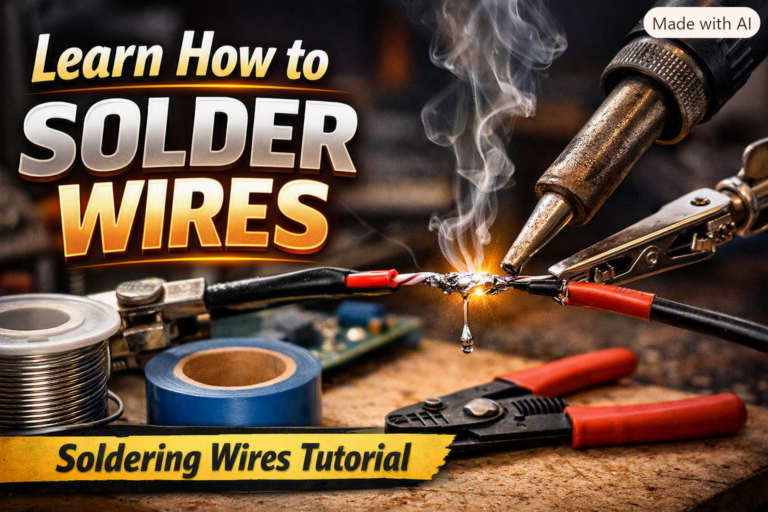
Learning to solder wires is a fundamental skill for anyone interested in electronics, DIY projects, or even basic home repairs. It’s the process of joining two or more metal pieces by melting and putting a filler metal (solder) into the joint. This creates a strong, electrically conductive connection. Mastering soldering can open up a world of possibilities, from fixing broken devices to building your own custom circuits.
This guide will walk you through everything you need to know to get started with soldering wires. We’ll cover the essential tools, the step-by-step process, and some important tips to ensure your connections are reliable and safe. With a little practice, you’ll be soldering like a pro in no time.
Essential Tools For Soldering Wires
Before you begin, gather the necessary equipment. Having the right tools makes the job easier and leads to better results. Quality tools also contribute to safety.
The Soldering Iron
The soldering iron is your main tool. It heats up to melt the solder. For beginners, a temperature-controlled soldering station is highly recommended. These allow you to set a specific temperature, which is crucial for different types of solder and components. A wattage between 30W and 60W is usually sufficient for most wire soldering tasks.
Look for an iron with interchangeable tips. A chisel tip is excellent for general soldering and heat transfer, while a conical tip is good for very fine work. Make sure the iron has a stand to safely hold it when not in use, and a sponge or brass wool for cleaning the tip.
Solder
Solder is a metal alloy that melts at a relatively low temperature. For electronics, lead-free solder is common, but it requires higher temperatures and can be a bit trickier to work with. Solder with a rosin core is generally preferred for electronics. The rosin flux inside helps clean the metal surfaces and promotes good solder flow.
A common diameter for wire soldering is 0.031 inches (0.8mm). Thicker solder is used for larger joints, while thinner solder is for delicate electronics.
Flux
While rosin-core solder contains flux, sometimes you might need additional flux. Flux is a chemical agent that cleans the metal surfaces of oxides and impurities. This cleaning action is vital for achieving a strong, reliable solder joint. Flux comes in paste, liquid, or pen form.
Wire Strippers
You’ll need wire strippers to remove the insulation from the ends of the wires you want to solder. Ensure they are set to the correct gauge for your wires to avoid damaging the copper strands.
Helping Hands Tool
A “helping hands” tool is an adjustable clamp that holds wires or components steady while you solder. This frees up your hands to hold the soldering iron and solder. It’s incredibly useful for keeping everything in place.
Safety Gear
Safety glasses are non-negotiable. Molten solder can splatter, and fumes from the flux can be harmful if inhaled over long periods. Consider a fume extractor or work in a well-ventilated area. Heat-resistant gloves can also offer an extra layer of protection.
Preparing Your Workspace And Materials
A clean and organized workspace is key to successful soldering. Proper preparation ensures you can work efficiently and safely.
Setting Up Your Station
Choose a stable, heat-resistant surface for your soldering station. Ensure good lighting and easy access to all your tools. Keep flammable materials away from the hot soldering iron.
Cleaning Your Tools
Before you start, clean your soldering iron tip. Heat the iron to its working temperature, then wipe the tip on a damp sponge or brass wool. This removes any old solder or oxidation. A clean tip transfers heat effectively.
Preparing The Wires
Use your wire strippers to carefully remove about 1/2 inch (1.25 cm) of insulation from the ends of each wire you intend to join. Be gentle; you don’t want to nick or break the fine copper strands. If using stranded wire, gently twist the exposed strands together to keep them neat and prevent stray wires.
The Soldering Process: Step-by-step
Now that you have your tools and workspace ready, it’s time to solder. Follow these steps for a strong, reliable connection.
Tinning The Soldering Iron Tip
Tinning means coating the hot soldering iron tip with a fresh layer of solder. This protects the tip from oxidation and improves heat transfer. Apply a small amount of solder to the tip and wipe it clean on the damp sponge or brass wool. Repeat this process until the tip is shiny and coated.
Tinning The Wires
Before joining the wires, it’s good practice to tin each wire individually. Heat the twisted end of a wire with the soldering iron and apply a small amount of solder. The solder should flow smoothly over the strands. This creates a solid base for the final joint.
Joining The Wires
Bring the two tinned wire ends together. If you’re using a helping hands tool, secure the wires in the clamps. Now, heat the joint where the two wires meet with the soldering iron tip. Apply solder to the heated joint, not directly to the iron.
The solder should flow quickly and smoothly, creating a shiny, silver-like connection that covers the joint. Aim for just enough solder to cover the wires completely, but avoid creating large blobs. A good solder joint looks like a small, smooth volcano.
Cooling The Joint
Once you have applied enough solder, remove the solder wire first, then lift the soldering iron away. Allow the joint to cool undisturbed for a few seconds. Moving the wires while the solder is still molten can create a “cold joint,” which is weak and unreliable. A cold joint often looks dull and lumpy.
Inspecting The Joint
After cooling, examine your solder joint. It should be shiny, smooth, and fully cover the wires. There should be no gaps or visible strands of copper. If the joint looks dull, lumpy, or has sharp points, it might be a cold joint or have insufficient solder. In such cases, you may need to reheat the joint and add a little more solder, or even remove the old solder and start again.
Common Soldering Mistakes And How To Avoid Them
Even with the right tools and steps, beginners often make common mistakes. Recognizing these can help you improve quickly.
Cold Joints
A cold joint is perhaps the most common error. It happens when the joint isn’t heated sufficiently, or the wires are moved before the solder solidifies.
- How to avoid: Ensure the soldering iron tip is hot enough and makes good contact with both wires being joined. Heat the joint itself, then apply solder. Let the joint cool completely before touching it.
Too Much Solder
Using excessive amounts of solder can create a messy joint that might short-circuit other components or look unprofessional.
- How to avoid: Apply solder only to the heated joint. Use just enough solder to flow around the wires. It’s easier to add more solder than to remove excess.
Too Little Solder
Conversely, using too little solder results in a weak connection that might break under stress or have poor electrical conductivity.
- How to avoid: Ensure the solder flows over all the exposed wire strands. A good joint should look completely covered and solid.
Damaged Wire Insulation
Stripping too much insulation or using the wrong tool can damage the wire strands, weakening the connection.
- How to avoid: Use properly sized wire strippers. Make a clean cut and remove only the necessary amount of insulation.
Overheating Components
While less common with just wire soldering, if you’re soldering wires to circuit boards, excessive heat can damage sensitive electronic components.
- How to avoid: Use a temperature-controlled iron and don’t apply heat for longer than necessary (typically 3-5 seconds).
Advanced Tips For Better Solder Joints
Once you’re comfortable with the basics, these tips can elevate your