
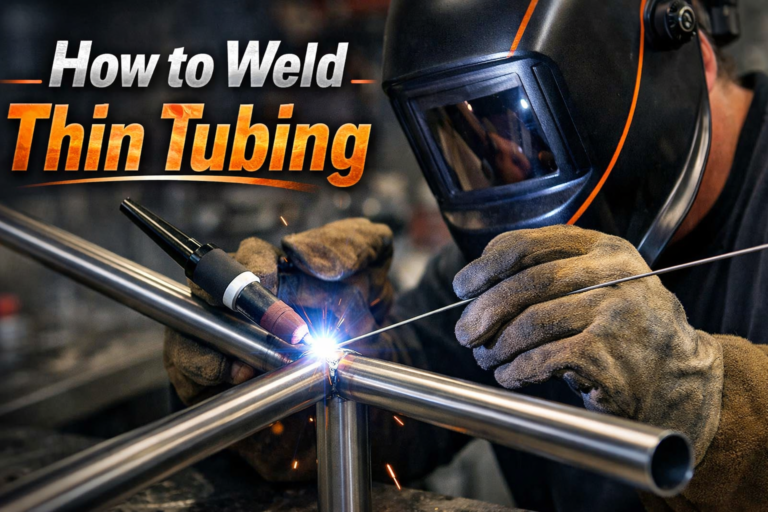
Welding thin tubing looks easy, but it can be much harder than working with thicker metals. Thin tubes are common in automotive exhausts, bicycle frames, and furniture. If you use too much heat or move too slowly, you can burn through the metal or make the joint weak.
The right technique, setup, and knowledge can help you create strong, clean welds without damaging the tubing.
Key Challenges When Welding Thin Tubing
Thin tubing—usually under 1/8 inch (3 mm) wall thickness—presents unique problems. The main issue is heat control. Thin metal heats up fast and can melt through easily, leaving holes or warped sections. Achieving good penetration without burning through is a balancing act.
Here’s how thin tubing compares to thicker material:
| Property | Thin Tubing | Thick Tubing |
|---|---|---|
| Heat Tolerance | Low | High |
| Weld Speed | Faster needed | Slower possible |
| Risk of Burn-Through | High | Low |
| Skill Level Needed | Intermediate-Advanced | Beginner-Intermediate |
Many beginners don’t realize that even a small mistake—like a pause in one spot—can ruin thin tubing. Also, cleaning and prepping the joint is more important with thin materials because dirt or rust quickly leads to weak welds.
Choosing The Right Welding Process
Not all welding methods suit thin tubing. The most common options are TIG (GTAW) and MIG (GMAW) welding. TIG is best for precise, clean welds on thin material, but requires more skill. MIG is faster and easier for beginners, but controlling heat is harder.
Here’s a quick comparison:
| Welding Process | Best For | Pros | Cons |
|---|---|---|---|
| TIG | Stainless, chromoly, aluminum tubing | Clean, precise welds; great control | Slower, higher skill needed |
| MIG | Mild steel, quick jobs | Fast; easier for beginners | More spatter; less control |
For tubing under 1/16 inch (1. 6 mm), TIG is usually the safest choice. For mild steel tubes above that, a well-set MIG can work.

Credit: forum.millerwelds.com
Essential Preparation Steps
Proper preparation makes a huge difference in weld quality. Here’s what you need to do:
- Clean the tubing: Remove all oil, paint, rust, and dirt from both inside and outside the joint area. Use a wire brush or solvent.
- Fit-up matters: Joints should be tight, with no gaps. Even small gaps can cause burn-through.
- Secure the work: Use clamps or a jig to hold the tubes steady. Movement can ruin thin welds.
- Choose the right filler rod: For TIG, match the rod to the tubing material and thickness. For MIG, use the correct wire size—often 0.023″ or 0.030″ for thin tubing.
A tip many miss: If you’re welding round tubes, cutting the ends precisely so they fit together (called “notching”) is critical. Poor fit-up creates hot spots and weak joints.
Setting Up Your Welder For Thin Tubing
Welding thin tubing requires careful adjustment of your machine’s settings. Here are the most important:
- Lower amperage/voltage: Use the lowest setting that still gives penetration.
- Shorter wire stickout (MIG): About 3/8 inch helps control heat.
- Smaller electrode/filler: With TIG, use a 1/16″ (1.6 mm) tungsten or smaller.
- Pulse settings (TIG): If your machine has pulsing, use it. Pulsing reduces heat input and helps prevent burn-through.
- Shielding gas: Use 100% argon for TIG and 75% argon/25% CO₂ for MIG.
Always test your setup on scrap tubing before welding your actual project.
Welding Techniques For Thin Tubing
Technique is everything. Here’s how to weld thin tubing successfully:
- Tack weld first: Place small tacks every few inches around the joint to keep things aligned and spread heat.
- Move fast: A steady, quick hand helps avoid overheating.
- Short welds: Instead of one long weld, make several short welds (1/2 inch or less), letting the metal cool between passes.
- Backstep method: Weld in short sections, starting at the end of the last weld and moving backward. This spreads heat more evenly.
- Watch the puddle: Focus on the weld puddle. If it grows too big or turns red, stop and let it cool.
A mistake beginners often make is trying to fill gaps with extra filler. On thin tubing, this usually causes burn-through. Instead, adjust your fit-up and settings.
Safety Considerations
Welding thin tubing produces intense light, heat, and fumes. Always wear:
- Auto-darkening welding helmet
- Welding gloves and jacket
- Respirator if working with galvanized or coated tubes
Thin tubing is more likely to warp or collapse if not properly supported, so keep your work area clear and stable.
Credit: forum.millerwelds.com
Common Problems And How To Fix Them
Even with preparation, you might run into issues. Here’s what to do:
| Problem | Likely Cause | Solution |
|---|---|---|
| Burn-through | Too much heat, poor fit-up | Lower amperage, improve fit |
| Warping | Too much heat input | Weld in short sections, allow cooling |
| Lack of penetration | Too little heat, moving too fast | Increase amperage slightly, slow down |
A final pro tip: Always inspect your welds after cooling. Small cracks or pinholes are easier to fix early.
Frequently Asked Questions
What Is The Best Welding Process For Thin Tubing?
For most thin tubing, TIG welding gives the best control and cleanest results. MIG welding can work for mild steel if set up carefully.
How Do I Prevent Burn-through On Thin Tubing?
Use low heat, move quickly, and make sure the tubing fits tightly. Tack weld before running full beads, and let the joint cool between passes.
Can I Weld Aluminum Thin Tubing At Home?
Yes, but it’s harder than steel. You’ll need a TIG welder with AC capability and pure argon gas. Cleanliness and precise control are even more important with aluminum.
What Filler Rod Should I Use For Thin Tubing?
Match the filler rod to your tubing material and thickness. For mild steel, ER70S-2 or ER70S-6 rods work well. For stainless, use ER308L.
Where Can I Learn More About Welding Thin Tubing?
The American Welding Society offers detailed guides and certifications. For more hands-on tips, Miller Welds has helpful articles and videos.
Welding thin tubing takes patience and practice. With the right setup and careful technique, you’ll get strong, professional-looking results every time.

Credit: www.youtube.com