
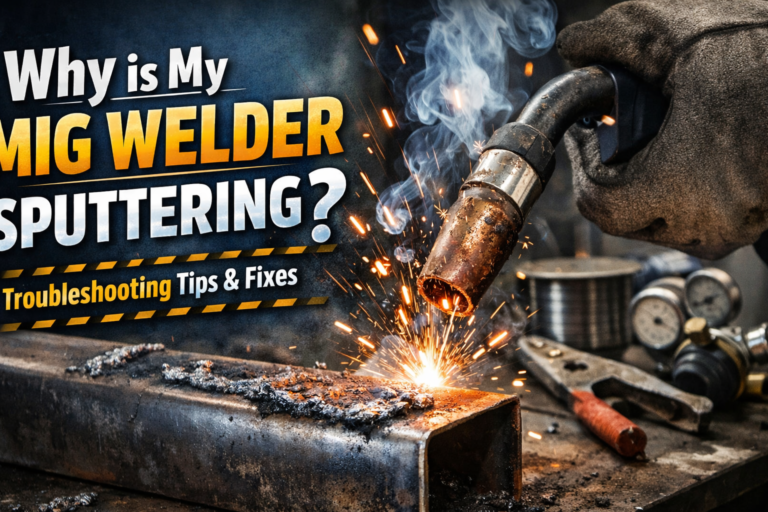
If your MIG welder is sputtering, it can be frustrating and confusing. Sputtering means the arc is unstable, the weld is noisy, or the wire feeds unevenly. You might see spatter flying everywhere, hear popping sounds, or notice poor weld quality. Understanding why this happens can save you time, money, and help you create better welds. Whether you are a beginner or have some experience, this article will help you identify the causes and solutions for MIG welder sputtering.
What Is Sputtering In Mig Welding?
Sputtering happens when the welding process becomes irregular. The wire may not melt smoothly, leading to bursts, pops, and spatter. This is not just annoying—it can weaken your weld and make it look messy. Sputtering is a clear sign that something is wrong with your setup, technique, or equipment.
Main Causes Of Mig Welder Sputtering
Incorrect Wire Feed Speed
If the wire feed speed is too fast, the wire pushes into the weld pool, causing popping and spatter. If too slow, the arc becomes unstable and sputters. Most beginners overlook the importance of fine-tuning this setting.
| Wire Feed Speed (ipm) | Effect on Welding |
|---|---|
| Too Fast | Excessive spatter, unstable arc |
| Optimal | Smooth arc, clean weld |
| Too Slow | Popping, weak penetration |
Incorrect Voltage Settings
Voltage controls the arc length. Too low voltage causes the wire to melt unevenly and leads to sputtering. Too high voltage increases spatter and weakens control. Always match voltage to wire feed speed and material thickness.
Dirty Or Rusty Workpiece
Many welders forget to clean their metal. Rust, oil, paint, or dirt blocks the arc and causes sputtering. Use a wire brush or grinder to remove contaminants before welding.
Poor Gas Coverage
Shielding gas protects the weld from air. If the gas flow is too low, or there are leaks, oxygen enters and causes sputtering. Windy conditions or damaged hoses also reduce gas effectiveness. For MIG, use argon or CO2 blends at 20–30 cubic feet per hour.
Wrong Wire Type Or Size
Using the wrong wire for your material can cause sputtering. Match wire type (e. g. , ER70S-6 for mild steel) and size (usually 0. 023–0. 035 inches for most home welders) with your project. Not all wires work well with all metals.
| Wire Type | Best For | Likely Issues |
|---|---|---|
| ER70S-6 | Mild steel | Few issues if settings correct |
| Aluminum wire | Aluminum welding | Needs special liner, more prone to jams |
| Stainless wire | Stainless steel | Requires correct gas, can cause sputter if wrong gas |
Faulty Or Dirty Contact Tip
The contact tip transfers current to the wire. If it is dirty, worn, or too large, the arc will sputter. Clean or replace tips regularly. Using pliers to clear jams can damage the tip, leading to more problems.
Inconsistent Wire Tension
Wire tension affects how smoothly the wire feeds. Too tight causes jams; too loose makes the wire slip and sputter. Adjust the tension so the wire feeds smoothly without slipping.
How To Fix Mig Welder Sputtering
- Check Wire Feed and Voltage: Start with the manufacturer’s recommended settings. Adjust gradually until the arc sounds steady (a soft buzzing, not popping).
- Clean Your Workpiece: Remove all rust, paint, oil, and dirt. Even small amounts can cause big problems.
- Inspect Gas Flow: Make sure the tank is open, hoses are not kinked, and the flow rate matches your wire and material. Look for leaks or drafts that could disrupt coverage.
- Match Wire to Job: Use the correct wire type and size. Check your spool for rust or contamination.
- Replace Contact Tips: If the tip is worn, replace it. Use the right size for your wire.
- Set Wire Tension: Adjust the tension to allow steady feeding. Test by feeding wire with trigger pressed—should move smoothly, not slip or jam.
- Check Ground Clamp: A weak ground causes arc instability. Attach clamp to clean, bare metal.
| Problem | Quick Fix |
|---|---|
| Sputtering arc | Adjust voltage and wire speed |
| Spatter | Clean workpiece, check gas flow |
| Wire jams | Replace tip, adjust tension |
Extra Insights For Beginners
Many new welders only focus on settings, but power supply stability matters. Fluctuations in household power can cause the welder to sputter. If your lights flicker when welding, try another outlet or a dedicated circuit.
Another overlooked point is distance from the workpiece. Holding the torch too far away reduces gas coverage and increases sputter. Stay within ¼ inch for a consistent arc.
When Sputtering Is Normal
Some light sputtering is normal when starting the weld. As the arc stabilizes, it should smooth out. If sputtering continues, it’s a sign of a problem.
Preventing Mig Welder Sputtering
- Always clean both the metal and your welding nozzle before starting.
- Use the recommended gas for your wire and material.
- Store wire spools in a dry place to prevent rust.
- Avoid welding in windy conditions—wind blows away shielding gas.
Frequently Asked Questions
Why Does My Mig Welder Sputter Only At The Start?
Starting sputter is common because the arc needs time to stabilize. If sputtering stops after a few seconds, it’s usually not a concern. Persistent sputtering points to setup issues.
Can A Bad Ground Cause Sputtering?
Yes. A weak or dirty ground connection makes the arc unstable. Always attach the ground clamp to clean, bare metal close to your weld area.
How Do I Know If My Gas Flow Is Correct?
You should hear a gentle hiss when the trigger is pressed. Typical flow rates are 20–30 cubic feet per hour. If you see excessive spatter or porosity, check for leaks or adjust the regulator.
Is Wire Quality Important For Sputter-free Welding?
Absolutely. Cheap, rusty, or contaminated wire leads to poor feeding and sputtering. Use clean, high-quality wire that matches your welder and material.
What Should I Do If Adjusting Settings Doesn’t Stop The Sputtering?
Check for hidden issues: damaged liner, worn drive rollers, or electrical problems. If you can’t solve it, consult your welder manual or visit Miller Welding’s official site for troubleshooting guides.
Sputtering is a common issue, but once you know the causes and solutions, you can fix it quickly. With careful setup and maintenance, your MIG welder will produce smooth, clean welds. Remember, patience and attention to detail make the difference between a frustrating project and a great result.