
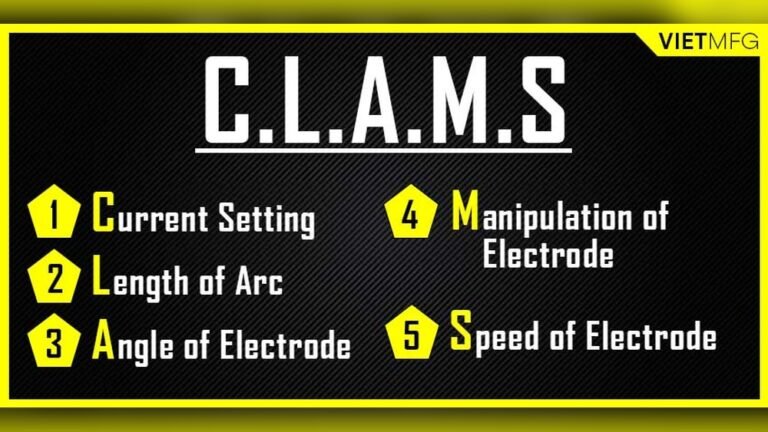
In the world of welding, clams refer to a specific type of defect that can appear on a finished weld bead. Understanding what clams are, why they happen, and how to prevent them is crucial for welders aiming for high-quality, strong, and visually appealing welds. These imperfections can weaken the weld and lead to future problems if not addressed properly.
What Are Welding Clams?
Welding clams, also known by names like fish eyes or crater pipes, are small, concave depressions or voids found on the surface of a weld bead, particularly at the end of a weld. They look like small craters or dimples, and when you cut through a weld with clams, you might see a hollow space inside. These defects are not just surface blemishes; they represent a lack of fusion or incomplete filling of the weld pool.
The term “clam” likely comes from the visual resemblance to the inside of a clam shell, with its curved, hollow shape. These defects can occur in various welding processes, including Stick (SMAW), MIG (GMAW), and TIG (GTAW), though they are more commonly observed in Stick welding.
Causes Of Welding Clams
Several factors can contribute to the formation of clams in a weld. Understanding these causes is the first step toward preventing them.
1. Improper Crater Filling Technique
The most frequent cause of clams is a welder not properly filling the weld crater at the end of the welding pass. When a welder finishes a weld, they need to ensure the molten metal fully fills the depression left behind. If the arc is broken too soon or the welder pulls away too quickly, the molten puddle collapses, leaving a void.
2. Insufficient Filler Metal
Not using enough filler metal can also lead to clams. If the welder doesn’t deposit enough material to bridge the gap and fill the crater, a void will form. This is often linked to travel speed; moving too fast doesn’t allow enough filler metal to be deposited.
3. Arc Length And Voltage Issues
An excessively long arc length or high voltage can cause the molten puddle to become too fluid and spread out too much. This makes it harder to control and fill the crater properly. The molten metal might not have enough surface tension to hold its shape as the arc is extinguished.
4. Incorrect Electrode Angle Or Travel Speed
A travel speed that is too fast is a major culprit. When a welder moves too quickly, they don’t give the molten metal enough time to solidify and fill the crater. Similarly, an improper electrode angle can direct the molten metal away from the crater area, leaving it unfilled.
5. Contamination
While less common for surface clams, contamination within the weld can sometimes contribute to voids. If impurities are present, they can disrupt the molten pool and lead to incomplete fusion, especially at the end of the weld where cooling is rapid.

Credit: westairgases.com
The Impact Of Welding Clams
Clams are not just an aesthetic issue; they can have significant negative impacts on the structural integrity and performance of a welded joint.
1. Reduced Strength
The most critical impact is the reduction in the weld’s tensile strength and fatigue life. The void created by a clam acts as a stress riser, a point where stress concentrates. Under load, this can lead to cracks forming and propagating, eventually causing the weld to fail.
2. Poor Fusion
Clams often indicate lack of fusion, meaning the filler metal did not properly bond with the base metal or the previous weld pass. This creates a weak point in the joint.
3. Leaks
In applications where welds are used to contain liquids or gases, clams can create pathways for leaks. This is particularly problematic in pressure vessels, pipelines, and other critical infrastructure.
4. Visual Imperfection
In applications where appearance matters, such as architectural metalwork or visible structural components, clams are unacceptable. They make the weld look unprofessional and unfinished.
Preventing Welding Clams
Fortunately, clams are preventable with proper technique and attention to detail. Here are key strategies to avoid them:
1. Proper Crater Filling Technique
This is the most important step. At the end of a weld, slow down your travel speed. Pause briefly and manipulate the electrode or welding gun to ensure the molten puddle fills the crater completely before extinguishing the arc. Some welders will even make a small circular motion or a slight backward movement to push more metal into the crater.
2. Control Travel Speed
Maintain a consistent and appropriate travel speed. Avoid moving too fast, especially at the end of a weld. The speed should allow for adequate filler metal deposition and proper solidification of the weld pool.
3. Adjust Arc Length And Voltage
Ensure your arc length is appropriate for the welding process and consumables being used. Generally, a shorter arc is preferred for better control and penetration. Adjust voltage settings on MIG and Flux-Cored machines to achieve a stable arc and a well-formed weld puddle.
4. Use Sufficient Filler Metal
Ensure you are using the correct size and type of filler metal for the base material and joint design. If you are consistently running out of filler metal before completing a section, you may need to adjust your technique or consumables.
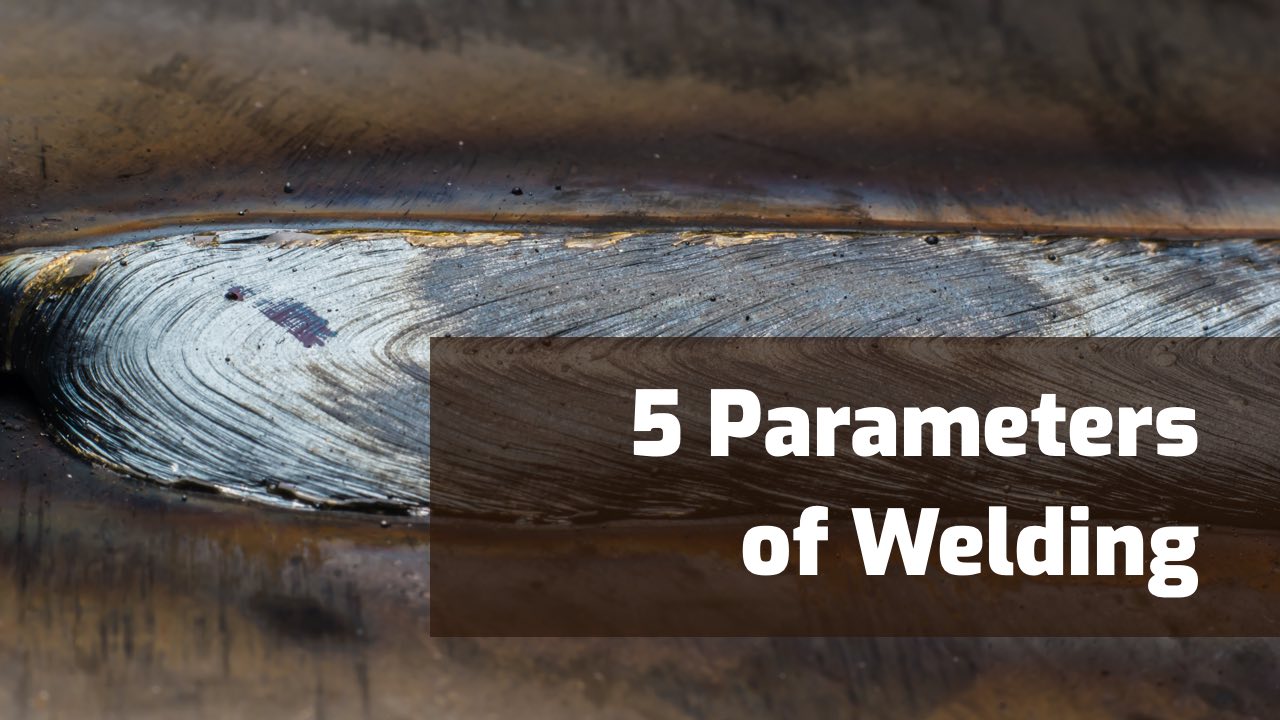
5. Electrode Manipulation
Develop a consistent electrode manipulation technique. For Stick welding, this might involve a slight pause or back-step at the end of the bead. For MIG welding, a slight pause and potentially a slight backward movement of the gun can help fill the crater.
6. Cleanliness
Always ensure your base metal and filler materials are clean and free from rust, paint, oil, or other contaminants. Proper cleaning prevents inclusions that can exacerbate crater defects.
Credit: weldguru.com
Identifying And Repairing Clams
Identifying clams is usually straightforward due to their distinct visual appearance. They are typically visible on the surface of the weld. However, deeper clams might only be discovered during destructive testing or if they cause a failure.
Repairing welds with clams depends on the severity and the application. For minor surface clams that do not compromise the weld’s integrity, grinding them out and re-welding the area might be sufficient. However, if the clam indicates significant lack of fusion or is in a critical structural component, the affected area may need to be completely gouged out and re-welded. Always follow your company’s welding procedures or the relevant industry codes for repair work.
| Defect Type | Appearance | Primary Cause | Prevention Method |
|---|---|---|---|
| Clam (Fish Eye / Crater Pipe) | Concave depression/void at weld end | Improper crater filling, fast travel speed | Proper crater filling technique, consistent travel speed |
| Undercut | Groove melted into base metal next to weld toe | Excessive current/voltage, fast travel speed | Reduce current/voltage, slow travel speed |
| Porosity | Gas pockets trapped in weld metal | Contamination, improper shielding gas, wet consumables | Clean base metal, proper shielding gas, dry consumables |
Welding Processes And Clams
While clams can occur in various processes, their prevalence can differ:
- Shielded Metal Arc Welding (SMAW / Stick): Clams are quite common in Stick welding, especially for beginners. The manual nature of controlling the electrode and filler metal makes crater filling a skill that requires practice. The flux coating also plays a role in shielding, but improper technique at the end of the bead is the main issue.
- Gas Metal Arc Welding (GMAW / MIG): MIG welding can also produce clams, particularly if the welder pulls the gun away too quickly or if the shielding gas flow is inconsistent. The continuous wire feed can sometimes make it easier to over-fill or under-fill the crater if not managed correctly.
- Gas Tungsten Arc Welding (GTAW / TIG): TIG welding, known for its precision,