
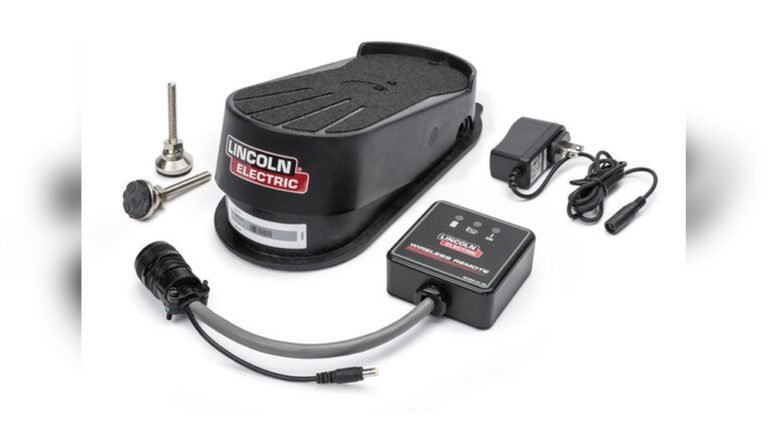
The Essential Foot Pedal For Tig Welding
TIG welding, or Gas Tungsten Arc Welding, is known for its precision and control. It allows welders to create clean, strong, and aesthetically pleasing welds on a variety of metals. While the torch and electrode are crucial, a often-overlooked but vital component for achieving superior control is the TIG welder foot pedal. This device acts as your hand on the amperage control, offering a much more nuanced way to manage heat input than simply adjusting a dial.
Understanding how a foot pedal works and why it’s so important can significantly elevate your TIG welding skills. It’s not just an accessory; for many applications, it’s a fundamental tool that separates amateur work from professional results. Whether you’re welding thin aluminum or thick stainless steel, the ability to precisely control the welding current with your foot is invaluable.
Why Use A Foot Pedal For Tig Welding?
The primary advantage of a TIG foot pedal is real-time amperage control. Unlike a machine with only a dial, a foot pedal allows you to smoothly increase or decrease the welding current as you weld. This dynamic control is essential for several reasons:
- Heat Management: TIG welding requires precise heat input. Too much heat can burn through thin materials or warp thicker ones. Too little heat results in a weak, incomplete weld. A foot pedal lets you feather the amperage, reducing it when you need to prevent burn-through or increase it to ensure proper fusion.
- Arc Starting: Many modern TIG welders use the foot pedal for arc starting. This provides a gentle start to the arc without the excessive spatter or crater that can occur with a simple switch. You can start with a low amperage and ramp up as needed.
- Filler Metal Addition: When adding filler metal, you often need to momentarily reduce the heat to prevent the filler rod from melting too quickly or causing excessive puddle agitation. A foot pedal allows for this quick adjustment without interrupting your welding rhythm.
- Situational Adjustments: Different parts of a weld joint may require different amperage. For instance, a corner or edge might need less heat than a flat section. A foot pedal allows you to make these immediate adjustments on the fly.
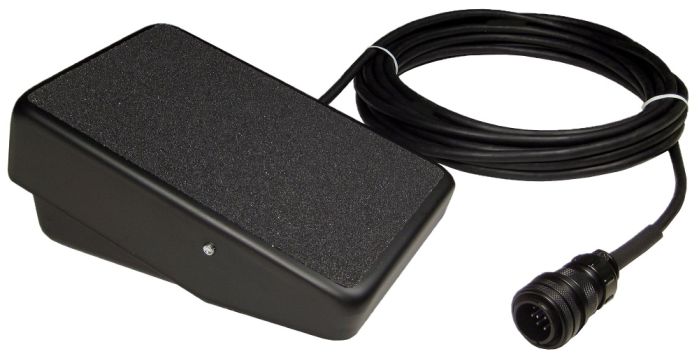
Credit: www.r-techwelding.co.uk
Types Of Tig Welder Foot Pedals
TIG welder foot pedals primarily differ in their connection type and control mechanism. Understanding these differences will help you choose the right pedal for your machine.
Connection Types
The most common connection types are:
- Amphenol Connectors: These are round, multi-pin connectors. Many Lincoln Electric and Miller welders use this type. They are robust and provide a secure connection.
- 3-Pin Connectors: Common on HTP America and some other brands, these are also reliable connectors.
- Proprietary Connectors: Some manufacturers, especially for entry-level or integrated machines, might use unique connectors. Always check your welder’s manual to confirm compatibility.
It’s crucial to match the pedal’s connector to your TIG welder’s receptacle. Using an incompatible connector can damage both the pedal and the machine.
Control Mechanisms
Pedals use different methods to control amperage:
- Rheostat-Based: These pedals contain a variable resistor (rheostat). As you press the pedal, the resistance changes, altering the amperage output from the welder. This is the most traditional and common type.
- Digital/Electronic: Newer, more advanced welders might use electronic controls. The pedal sends a signal to the machine, which then adjusts the amperage digitally. These can sometimes offer more precise control or additional features.
Key Features To Look For
When selecting a TIG welder foot pedal, consider these important features:
1. Durability And Build Quality
A foot pedal is subjected to constant pressure and movement. Look for pedals made from heavy-duty metal (like steel or aluminum) rather than plastic. A non-slip base is also essential to prevent the pedal from sliding around on the shop floor.
2. Cable Length
The cable connecting the pedal to the welder is vital for your working radius. A longer cable (15 feet or more) offers greater flexibility, allowing you to position yourself comfortably without being tethered too close to the machine.
3. Pedal Feel And Sensitivity
This is subjective but critical. Some pedals have a stiffer feel, requiring more pressure to depress, while others are lighter. A pedal with a smooth, progressive feel allows for finer control. When I tested a few different pedals, the ones with a more defined “sweet spot” for low amperage were easier to manage for delicate tasks.
4. Compatibility
As mentioned earlier, ensuring the pedal’s connector matches your welder is paramount. Always double-check your welder’s manual or consult the manufacturer. Some universal pedals exist, but their compatibility can be limited.
5. Amperage Range
While the welder determines the maximum amperage, the pedal should be able to accurately control within the *full range* of your machine. A pedal designed for a 200-amp machine will likely not work correctly with a 300-amp machine, and vice-versa.
Here’s a look at some common pedal types and their typical characteristics:
| Pedal Type | Connector | Typical Use | Pros | Cons |
|---|---|---|---|---|
| Heavy-Duty Metal Pedal | Amphenol, 3-Pin | Professional, Industrial | Durable, Reliable, Good control | Can be heavier, More expensive |
| Lightweight Plastic Pedal | Proprietary, 3-Pin | Hobbyist, Light Use | Affordable, Portable | Less durable, Can feel flimsy |
| Universal Pedal | Various (may require adapter) | Multiple Machine Brands | Versatile if compatible | Compatibility issues, May lack fine control |

Credit: lincolnelectricretail.com
Using Your Tig Foot Pedal Effectively
Mastering the foot pedal takes practice. Here are some tips to help you get the most out of it:
- Practice on Scrap Metal: Before welding your project, spend time practicing on scrap pieces of the same material. Focus on smooth transitions in amperage, starting the arc, and stopping it cleanly.
- Develop Muscle Memory: Your foot needs to learn the pedal’s resistance and travel. Try to find a comfortable stance where you can easily apply pressure without fatigue.
- Start Low, Then Ramp Up: For most welds, begin with a low amperage to establish the arc and puddle, then gradually increase the current with your foot as needed.
- Feather the Pedal for Stops: When finishing a weld, gradually ease off the pedal to let the puddle cool slightly before breaking the arc. This helps prevent crater cracking.
- Listen to the Arc: The sound of the TIG arc can tell you a lot. A harsh, crackling sound might indicate too much amperage, while a weak, sputtering sound suggests too little. Adjust your foot accordingly.
Non-obvious Insights For Pedal Users
Many beginners focus solely on moving the torch. However, the pedal is just as active a tool.
- Pre-Weld Pedal Position: Before you even strike an arc, get your foot in a comfortable starting position. This means you can easily move from a zero-amperage state to your desired starting amperage without a significant shift in your body or foot. In my experience, finding this “ready position” reduces jerky movements during the weld.
- The “Dip and Pull” Technique: For very thin materials, you might need to momentarily “dip” the amperage down to almost zero to let the puddle solidify slightly before adding filler or continuing. This is far easier with a pedal than trying to quickly adjust a dial.
Common Mistakes To Avoid
- Using the Wrong Pedal: As emphasized, connector compatibility is non-negotiable