
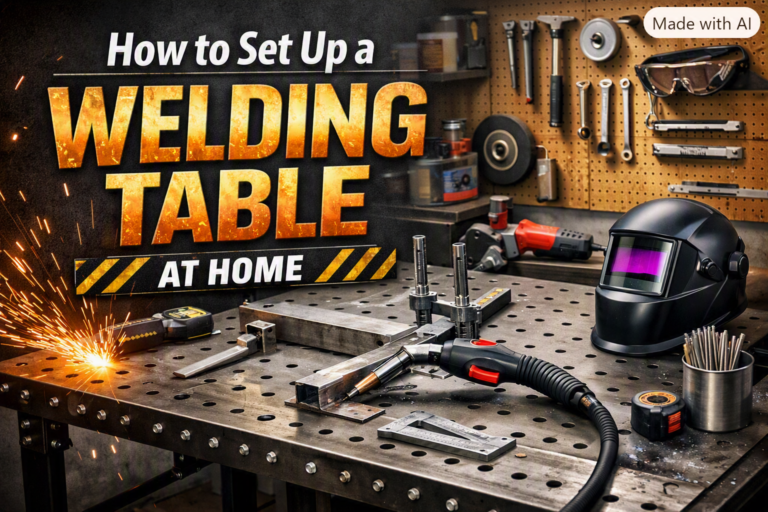
Setting up a home welding table can transform your garage or workshop into a practical space for metal projects, repairs, or learning a new trade. The right setup boosts safety, efficiency, and the quality of your work. If you’re new to welding or want to build a table that works for many projects, this guide will walk you through the essentials—without the confusion.
Why A Dedicated Welding Table Matters
A welding table is more than just a work surface. It gives you a flat, stable, and fire-resistant area to weld safely. Using a regular table or the floor can be dangerous and lead to poor results. A proper welding table helps you:
- Ground your work easily
- Keep tools organized
- Reduce fire risk
- Clamp metal securely
Many beginners overlook the importance of grounding and fire resistance. A steel-top table makes it much easier to create clean welds and prevents accidents from sparks or hot metal.
Choosing The Right Location
Pick a spot with good ventilation, enough space, and a flat floor. Welding produces fumes, so you want to be near a door or window, or use a fan. Avoid areas near flammable materials like wood, gasoline, or paint.
Think about:
- Clearance: Leave at least 3 feet of space around the table.
- Lighting: Good lighting helps you see welds clearly.
- Power: Place the table near electrical outlets for your welder and tools.
Materials And Tools Needed
Building your own welding table is cost-effective and lets you customize it. Here’s what you’ll need for a simple, sturdy table:
- Steel sheet (at least 1/4 inch thick, 3’x4’ is common)
- Steel tubing (for legs and frame, 1.5” or 2” square tube works well)
- Welding machine (MIG or stick)
- Angle grinder (for cutting and cleaning metal)
- Measuring tape and square
- Clamps
- Welding helmet, gloves, and jacket
Optional upgrades:
- Casters for mobility
- Shelves or racks for storage
Step-by-step Setup Guide
- Cut Your Steel
- Measure and cut steel tubing to make four legs and a frame. A common table height is 34-36 inches.
- Cut steel sheet for the tabletop. Make sure edges are smooth—grind any sharp spots.
- Assemble the Frame
- Lay out the frame on the floor. Use a square to keep corners at 90 degrees.
- Tack weld the corners. Double-check measurements, then finish welds.
- Attach the Legs
- Weld each leg to the inside corners of the frame.
- For extra strength, add diagonal supports between legs and frame.
- Mount the Tabletop
- Place the steel sheet on the frame.
- Weld or bolt it in place. Welding gives a stronger, seamless surface.
- Optional Additions
- Weld nuts under the table for clamps.
- Add a grounding tab for your welder.
- Install casters if you want a mobile table.
- Finishing Touches
- Grind welds smooth for safety.
- Clean the surface with a wire brush and wipe with acetone.
Comparing Table Top Materials
If you’re unsure about what to use for your tabletop, consider these common options:
| Material | Pros | Cons |
|---|---|---|
| Steel Plate (1/4″) | Very strong, good for grounding, resists warping | Heavy, more expensive |
| Steel Plate (1/8″) | Lighter, cheaper, easier to cut | Can warp with heavy welding |
| Aluminum | Lightweight, resists rust | Not as strong, harder to weld onto |
Most home welders use 1/4″ steel plate for durability.
Safety Tips For Your Welding Table
Welding is risky without the right setup. Here’s how to stay safe:
- Always wear a welding helmet with the correct shade.
- Use leather gloves and jacket.
- Ground your work to the table to avoid electric shock.
- Keep a fire extinguisher nearby.
- Check for flammable items under and around your table.
Many beginners forget to ground their work, which can lead to poor welds and electric shock. Also, sparks can travel several feet—clear your area before starting.
Tool And Accessory Storage
Keeping your workspace organized saves time and reduces mistakes. You can add shelves or hooks under your table for:
- Clamps and magnets
- Wire brushes
- Welding rods or wire spools
Here’s a simple comparison of storage options:
| Storage Type | Best For | Drawback |
|---|---|---|
| Under-table shelf | Heavy tools, extra metal | Can collect dust and sparks |
| Side hooks | Clamps, cables | Limited space |
| Magnetic trays | Small parts, nuts, bolts | May lose magnetism over time |
Essential Features To Consider
When planning your table, think ahead about features that make welding easier:
- Grounding point: A welded bolt or tab for clamping your ground cable.
- Slots or holes: For easy clamping and fixturing.
- Mobile base: Casters let you move the table as needed.
- Extension cord hooks: Keep cords tidy and out of the way.
Not all features are necessary at first, but adding them later is often harder. Plan for future needs if possible.
Cost Breakdown Example
Building your own welding table is usually cheaper than buying one. Here’s a rough cost estimate:
| Item | Estimated Cost |
|---|---|
| Steel plate (3’x4’x1/4”) | $90 – $130 |
| Steel tubing (for frame/legs) | $40 – $70 |
| Casters (optional) | $25 – $45 |
| Welding supplies (wire, gas, etc.) | $15 – $30 |
You can build a basic, sturdy table for around $150–$200. Custom commercial tables often cost $400 or more.
Real-world Example
Alex, a hobbyist welder, built his table using scrap steel he found at a local yard. He saved money but spent extra time cleaning and cutting the metal. His advice: “Don’t skimp on the tabletop. Even for small projects, a thick, flat surface makes welding so much easier.”
Frequently Asked Questions
What Size Should My Welding Table Be?
A common size for home use is 3 feet by 4 feet. This gives enough space for most projects but fits in a garage or workshop.
Can I Use Wood For My Welding Table?
No, wood is flammable and unsafe for welding. Always use a steel or other nonflammable top.
How Do I Keep My Table From Rusting?
Wipe the table with oil after use, or cover it with a tarp. Regular cleaning stops rust from forming.
Is It Safe To Weld Indoors?
Yes, if you have good ventilation and keep flammable items away. Open windows or use a fan to move fumes outside.
Where Can I Learn More About Welding Safety?
Visit OSHA’s welding safety page for official guidelines and tips.
A well-designed welding table makes every project safer, faster, and more enjoyable. Take your time planning and building—it’s an investment that pays off every time you strike an arc.