
Welding aluminum at home can seem difficult and expensive, but you don’t need fancy machines to get good results. With basic tools and careful steps, you can repair, join, or build with aluminum right in your garage. This guide explains how to weld aluminum at home, even if you’re new to welding or have a limited budget.
You’ll learn what methods work, what mistakes to avoid, and how to get strong, clean welds with simple equipment.
Understanding Aluminum Welding At Home
Aluminum is lightweight, corrosion-resistant, and popular for DIY projects. But it’s not as easy to weld as steel. Aluminum melts at a lower temperature, conducts heat quickly, and forms an oxide layer that makes welding harder. Still, you can weld aluminum without expensive MIG or TIG machines. The most affordable way is using aluminum brazing rods and a propane torch.
| Method | Equipment Needed | Skill Level | Cost Estimate |
|---|---|---|---|
| Brazing Rods + Torch | Propane torch, rods | Beginner | $30-$50 |
| MIG Welding | MIG welder, gas | Intermediate | $200-$500 |
| TIG Welding | TIG welder, argon | Advanced | $800+ |
For home projects, brazing is the best mix of low cost and easy learning. It doesn’t require special power sources or shielding gas.
Tools And Materials Needed
You don’t need a big toolbox. Here’s what works for most home welders:
- Propane torch (or MAP gas torch)
- Aluminum brazing rods (often called low-temp welding rods)
- Stainless steel wire brush (for cleaning)
- Clamps (to hold pieces together)
- Safety glasses and gloves
Make sure your rods match the aluminum type you’re welding. Most rods work for common grades like 6061 or 3003.
| Aluminum Type | Recommended Rod | Melting Point (°F) |
|---|---|---|
| 6061 | Low-temp rods | 1080 |
| 3003 | Low-temp rods | 1120 |
| 5052 | Special rods | 1180 |
Step-by-step Welding Process
Welding aluminum at home is simple if you follow each step carefully. Here’s how to do it:
- Clean the surfaces. Use a wire brush to scrub off any dirt, paint, and oxide. Aluminum oxide melts at a much higher temperature than aluminum itself, so removing it is key.
- Align and clamp the parts. Make sure the pieces are tight and stable. Gaps can weaken your weld.
- Preheat the aluminum. Move the torch back and forth across the joint. Don’t overheat—aluminum melts quickly.
- Apply the brazing rod. Touch the rod to the heated joint. If the aluminum is hot enough, the rod will melt and flow into the gap. Don’t melt the rod with the flame directly; it should melt from the heat of the aluminum.
- Let the weld cool. Don’t move the parts until they’re cool. Cooling too fast can cause cracks.
- Check the weld. The joint should be smooth and shiny. If it looks dull or crumbly, you didn’t get enough heat or the surface wasn’t clean.
Most small repairs (like fixing aluminum brackets or frames) can be finished in under 30 minutes.
Common Mistakes And How To Avoid Them
Many beginners make mistakes that ruin their welds. Here are the big ones:
- Not cleaning enough. Even a thin layer of oxide can stop the weld from sticking.
- Heating too much. Aluminum goes from solid to liquid fast. If you see the metal sag, stop and let it cool.
- Using the wrong rod. Some rods are for thin metal, others for thick. Check your package details.
- Melting the rod with the torch. Always let the aluminum heat the rod, not the flame.
- Ignoring safety. Aluminum gets hot and stays hot. Always use gloves and eye protection.
An extra tip: If your weld breaks after cooling, try cleaning more deeply and reheating slower. Getting the right temperature is more important with aluminum than with steel.

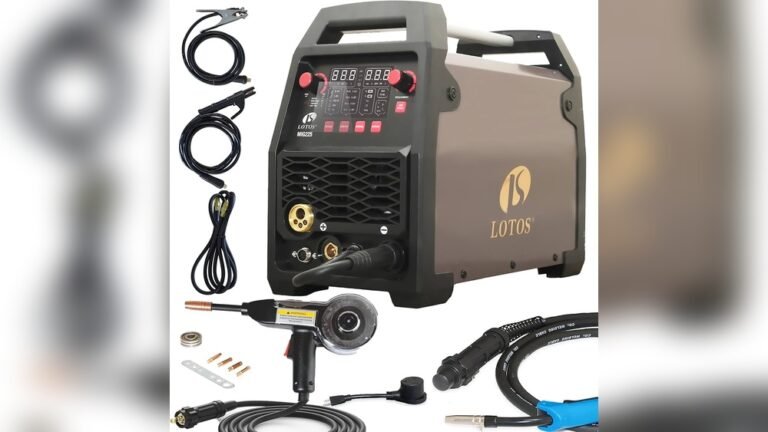
Credit: hgstar.en.made-in-china.com
Comparing Home Aluminum Welding Methods
If you’re wondering whether to buy a cheap welder or stick to brazing, consider these points:
| Criteria | Brazing Rods | MIG Welder |
|---|---|---|
| Price | Low | Medium |
| Ease of Use | Easy | Moderate |
| Strength | Medium | High |
| Setup Time | Fast | Slower |
| Maintenance | Minimal | Requires care |
For most DIY tasks, brazing is strong enough. If you need to weld thick aluminum or want professional results, MIG or TIG is better—but costs more and takes practice.
Practical Tips And Insights
- Test on scrap pieces before starting your main project. This helps you feel the right heat and rod flow.
- Store rods in a dry place; moisture can ruin them.
- Use multiple passes for thicker joints. Let each layer cool before adding another.
- If you’re working outside, avoid windy days. The flame can blow away and make heating uneven.
- For larger projects, a MAP gas torch heats faster than propane and is still affordable.
A common mistake is trying to weld aluminum with a standard soldering iron. This never works—aluminum requires much higher heat and special rods.

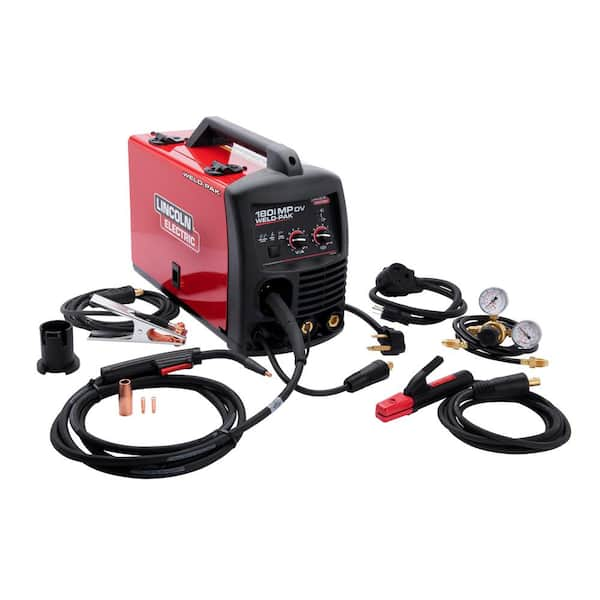
Credit: www.amazon.com
Safety Precautions
Welding aluminum creates fumes and heat. Protect yourself with these steps:
- Always wear safety glasses and heat-resistant gloves
- Work in a well-ventilated area
- Keep a fire extinguisher nearby
- Never touch hot metal until it cools
Many new welders overlook ventilation. Aluminum fumes can irritate your lungs, so don’t weld in a small, closed room.
If you want more details about brazing and welding, visit Wikipedia for technical explanations.
Frequently Asked Questions
Can I Weld Aluminum With A Regular Soldering Iron?
No. Soldering irons don’t reach the high temperatures needed for aluminum welding. You need a torch and special rods.
How Strong Is A Brazed Aluminum Weld?
A brazed weld is strong enough for most light repairs and frames. It’s not as strong as MIG/TIG welding, but works for non-critical parts.
What Thickness Of Aluminum Can I Weld At Home?
With brazing rods and a torch, you can weld aluminum up to about 1/8 inch thick. For thicker metal, consider a MIG welder.
Is It Safe To Weld Aluminum Indoors?
It’s safe if you have good ventilation. Aluminum welding produces fumes. Open windows or use a fan to keep the air clear.
How Do I Know If My Weld Is Good?
A good weld is smooth, shiny, and sticks firmly. If it looks dull, rough, or cracks, try cleaning better and heating slower.
You don’t need expensive tools to weld aluminum. With the right materials and careful steps, you can get reliable results at home—saving money and learning useful skills. Remember, always work safely and test your technique before tackling big projects.
Credit: www.homedepot.com