
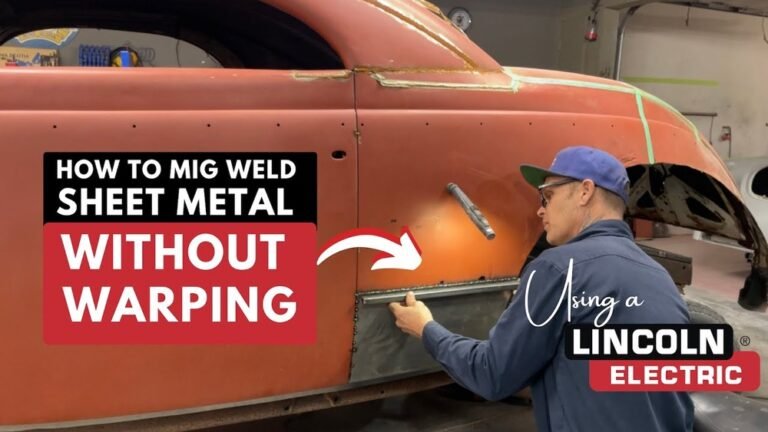
Welding sheet metal can be tricky, especially if you want to avoid warping. Even small mistakes can ruin your project or lead to costly repairs. But with the right techniques and a clear understanding of how heat affects thin metal, you can weld sheet metal like a pro—without unwanted bends or waves.
Why Does Sheet Metal Warp?
Sheet metal warps during welding because heat makes metal expand and contract. When you weld, you add intense local heat. As the area cools, the metal contracts unevenly, pulling the sheet out of shape. Thin sheets (usually under 1/8 inch) are more sensitive because they have less mass to absorb and spread the heat.
A few degrees of extra heat can make the difference between a flat panel and one that looks like a potato chip. Understanding this behavior is key before you start welding.
Choosing The Right Welding Process
The welding process you choose has a huge impact on heat input and the risk of warping. Here’s a quick comparison:
| Welding Process | Heat Control | Best For Sheet Metal? |
|---|---|---|
| MIG (GMAW) | Moderate | Yes |
| TIG (GTAW) | Excellent | Yes |
| Stick (SMAW) | Poor | No |
| Spot Welding | Very High | Yes (for overlaps) |
TIG welding is often the best choice for thin sheet metal because it gives you precise heat control. MIG welding is also common in auto body repair and home workshops.
Essential Tools And Materials
To weld sheet metal without warping, you’ll need:
- A welder (TIG or MIG preferred)
- Thin wire (0.023–0.030 in for MIG)
- Clean, rust-free sheet metal
- Clamps and magnets for holding pieces
- A copper or aluminum backing bar (absorbs heat)
- Protective gear
Most beginners skip the backing bar, but it’s a game-changer. It pulls heat away from the weld, reducing the chance of distortion.
Step-by-step: Welding Sheet Metal Without Warping
Follow these steps to get strong, flat welds:
- Prepare Your Metal
- Clean the area with a wire brush or grinder.
- Remove all paint, oil, or rust.
- Fit the pieces tightly—gaps increase distortion.
- Clamp Securely
- Use clamps every few inches to hold the metal flat.
- Place a backing bar behind the weld joint if possible.
- Tack Weld First
- Make small tack welds (short welds less than 1/2 inch) every few inches along the seam.
- Let each tack cool before adding the next.
- Stitch Weld
- Do not run a continuous bead. Instead, make short welds (1-2 inches), then skip to a distant spot and repeat.
- Allow cooling time between each stitch.
- Alternate Sides
- If possible, weld a little on one side, then flip and weld a bit on the other. This balances the heat.
- Cool Gradually
- Use compressed air or a damp cloth to cool the weld between passes. Do not quench with water—it can crack the weld.
- Finish Carefully
- Grind welds lightly to avoid thinning the metal too much.
- Check flatness often with a straight edge.

Credit: www.eastwood.com
Practical Tips For Warping Prevention
It’s easy to focus on the welding, but the setup matters just as much. Here are some often-overlooked details:
- Shrinkage happens after welding, not during. Don’t rush to move or bend the metal while it’s still hot. Let it cool in place.
- Copper or aluminum backing bars not only absorb heat but also prevent burn-through on thin sheets.
- Smaller wire and lower amperage produce less heat. Always start low and adjust upward as needed.
- Practice on scrap of the same thickness. Every sheet metal job is a bit different.
Common Mistakes To Avoid
Welding sheet metal without warping is easier if you avoid these pitfalls:
- Using too much heat or running long beads
- Failing to clamp pieces tightly
- Not cleaning the metal properly
- Skipping tack welds
- Welding only one side of a seam

Credit: hotean.com
Table: Recommended Settings For Mig And Tig Welding Sheet Metal
Here’s a quick guide for common sheet metal thicknesses:
| Thickness (inches) | MIG Wire Size | MIG Amperage | TIG Electrode | TIG Amperage |
|---|---|---|---|---|
| 0.024 | 0.023″ | 35-50A | 1/16″ Thoriated | 15-30A |
| 0.035 | 0.023″–0.030″ | 50-70A | 1/16″ Thoriated | 30-50A |
| 0.060 | 0.030″ | 70-90A | 3/32″ Thoriated | 50-70A |
Always check your machine’s manual for the best starting point.
When To Use Special Techniques
For some projects, you might need extra help:
- Hammer and dolly: For auto body work, gently tapping the weld while it’s still warm can flatten minor warps.
- Spot welding: For overlapped joints, spot welding delivers very short bursts of heat, which helps avoid distortion.
- Heat sinks: Place a heat sink (like a wet rag or copper block) near the weld to draw heat away.
Many professionals use a combination of these for the flattest results.

Credit: www.youtube.com
How To Fix Warped Sheet Metal
If you notice warping, all is not lost. You can:
- Gently tap the high spots with a body hammer and dolly.
- Use heat shrinking: Apply a small amount of heat to the warped area and cool quickly with compressed air.
- Clamp the sheet flat and re-tack as needed.
Prevention is better, but fixing is possible with practice.
Frequently Asked Questions
What Is The Best Welding Method For Sheet Metal?
TIG welding is usually best for thin sheet metal because it gives you the most control over heat. MIG welding is also effective, especially for beginners or large panels.
How Do I Stop Burn-through When Welding Sheet Metal?
Use lower amperage, smaller wire, and a copper backing bar. Move quickly and avoid staying in one spot. Practicing on scrap helps you find the right settings.
Can I Weld Sheet Metal With A Stick Welder?
Stick welding is not recommended for thin sheet metal. It creates too much heat and is hard to control. Use MIG, TIG, or spot welding instead.
What Is A Backing Bar And Why Use It?
A backing bar is a piece of copper or aluminum placed behind the weld. It absorbs heat, prevents burn-through, and reduces warping. It’s especially useful for beginners.
Where Can I Find More Detailed Welding Guides?
You can find more in-depth guides and tips at the Lincoln Electric website, which is trusted by professional welders worldwide.
Welding sheet metal without warping is all about preparation, patience, and heat control. With these steps and tips, you can get clean, flat results every time. Practice on scrap, pay attention to the small details, and you’ll soon weld like a pro.